
First, we update the package repositories:
sudo apt update
Next, we install the database dependencies (MariaDB Server):
sudo apt install mariadb-server

sudo systemctl enable mariadb
sudo systemctl start mariadb

sudo mariadb-secure-installation
Now, we proceed to install FreeRADIUS along with its MySQL/MariaDB module and utilities:
sudo apt -y install freeradius freeradius-mysql freeradius-utils
We temporarily stop the service to perform the initial configuration:
sudo systemctl stop freeradius
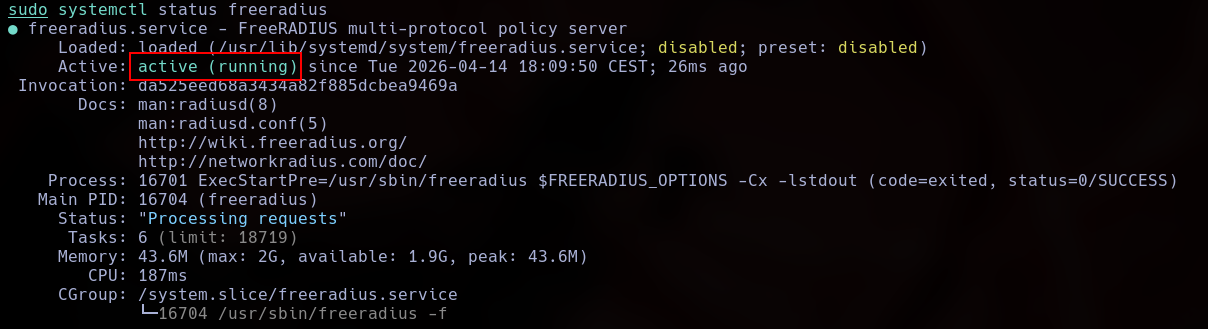
We can run the server in debug mode to verify it launches and works correctly:
sudo freeradius -X
Next, we proceed with the database backend configuration.
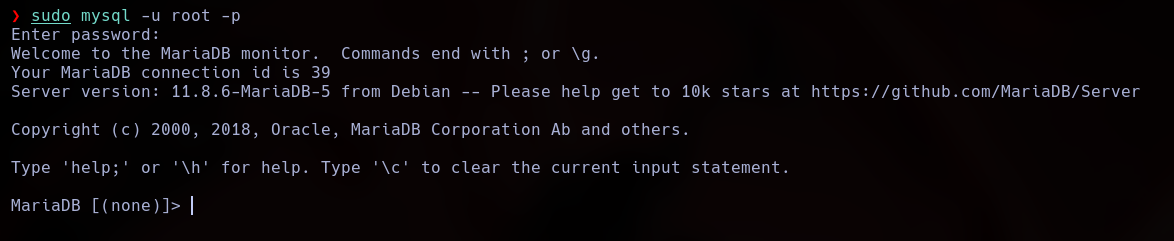
We need to log into MariaDB and create the dedicated radius_db database, user account, and privileges:
CREATE DATABASE radius_db;
CREATE USER 'aroche_user'@'localhost' IDENTIFIED BY 'Ar0ch3';
GRANT ALL ON radius_db.* TO aroche_user@localhost IDENTIFIED BY 'Ar0ch3';
FLUSH PRIVILEGES;
Now, we import the default SQL schema provided by the FreeRADIUS application package into our database:
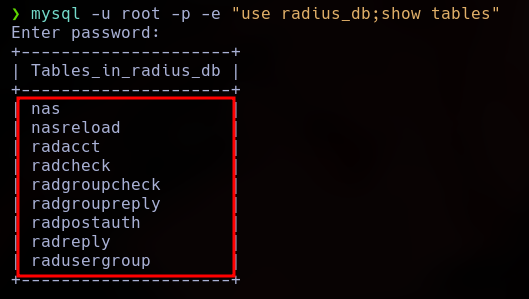
mysql -u root -p radius_db < /etc/freeradius/3.0/mods-config/sql/main/mysql/schema.sql
We log back into the database to verify that all tables were created successfully.
Next, we enable the SQL module within FreeRADIUS by creating a symbolic link from mods-available to mods-enabled:
sudo ln -s /etc/freeradius/3.0/mods-available/sql /etc/freeradius/3.0/mods-enabled
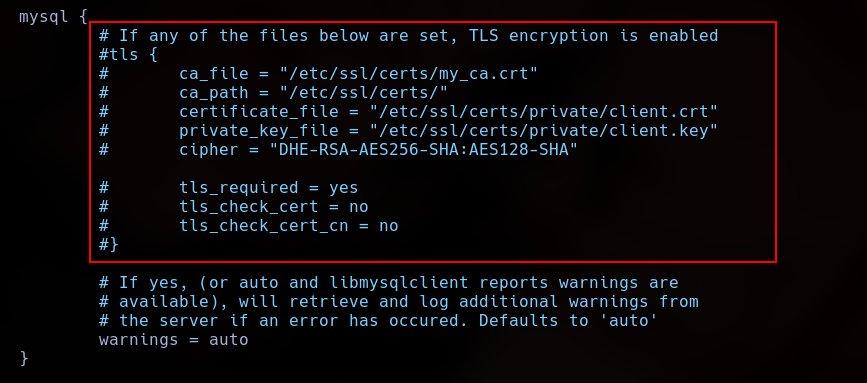
In case we are not using TLS authentication, we must comment out the TLS configuration block. If we are using it, we must explicitly specify the absolute paths to the certificates.
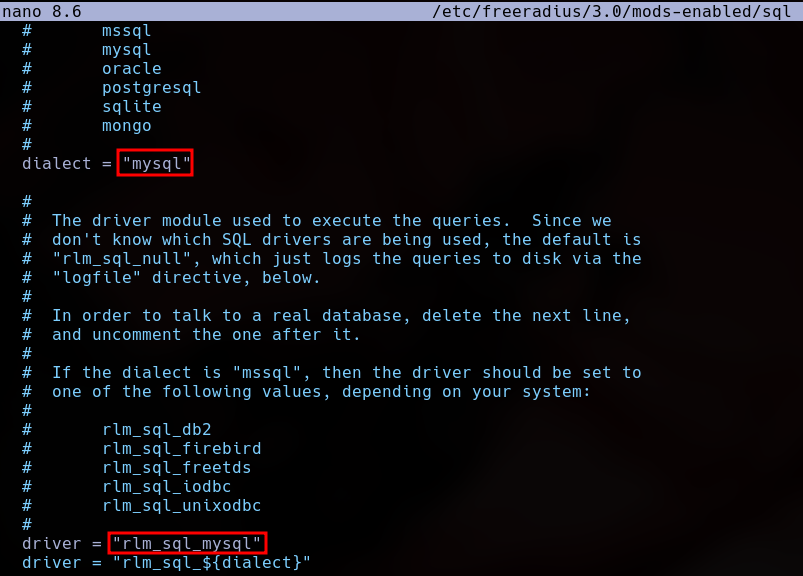
Finally, we specify our database connection parameters and credentials within the SQL module configuration file.
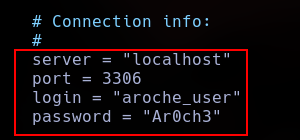
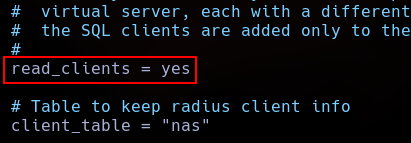
We also uncomment the read_clients option to allow reading NAS (Network Access Server) clients dynamically from the database.
Now, we adjust the permissions and ownership of the SQL module files to match the freerad service group and user:
sudo chgrp -h freerad /etc/freeradius/3.0/mods-available/sql
sudo chown -R freerad:freerad /etc/freeradius/3.0/mods-available/sql
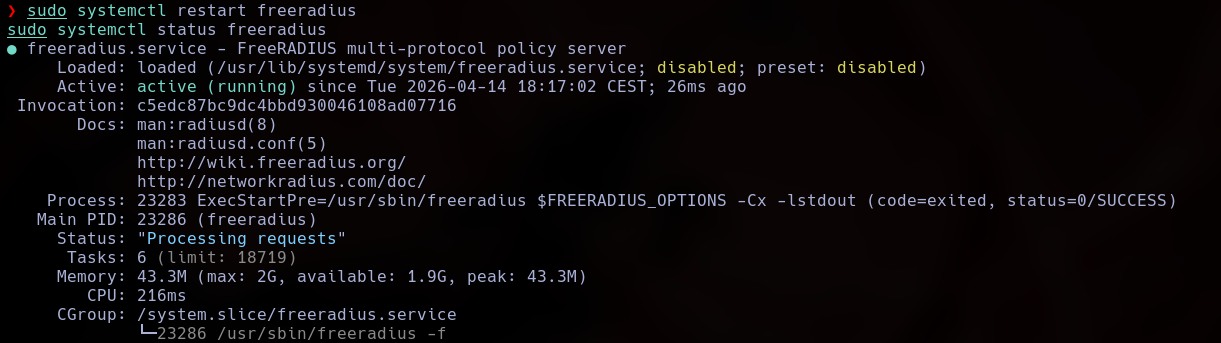
We restart the service to apply changes:
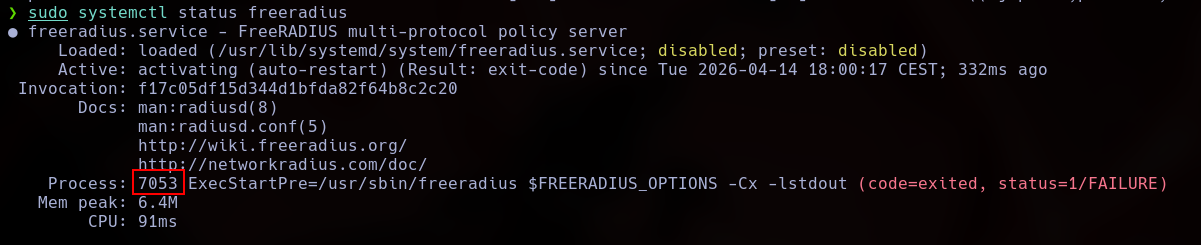
sudo systemctl restart freeradius-service
The service fails to start.

We run a process trace or lookup to identify any active or stuck process IDs.
We use the -X flag again to inspect the initialization error in detail.
sudo freeradius -X

This specific error is resolved by properly correcting and matching the database name (database = "radius_db") inside the configuration file.
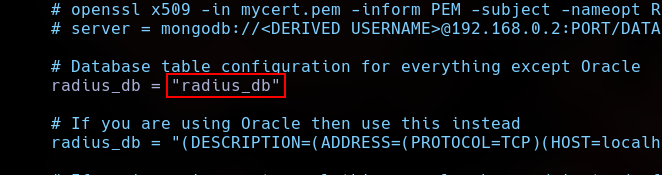
With this fix applied, the RADIUS service is now running successfully.
Now, we log back into the database backend to provision user accounts.
Before doing so, we will generate a secure NT password hash instead of using a weak plaintext password:
echo -n "password123" | iconv -t utf16le | openssl dgst -md4
We insert the target user credentials and parameters into the radcheck table:
INSERT INTO radcheck (username, attribute, op, value)
VALUES (
  'manuel',
  'NT-Password',
  ':=',
  'a9fdfa038c4b75ebc76dc855dd74f0da'
);
We restart the service to ensure all changes take effect.
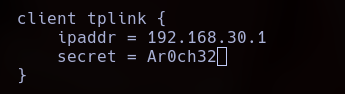
We navigate to /etc/freeradius/3.0/clients.conf to append the dedicated network configuration parameters for our NAS client (the TP-Link router):
client tplink {
    ipaddr = 192.168.1.1
    secret = testing123
}
We must ensure that WPS is completely disabled on the router interface to reduce the attack surface.

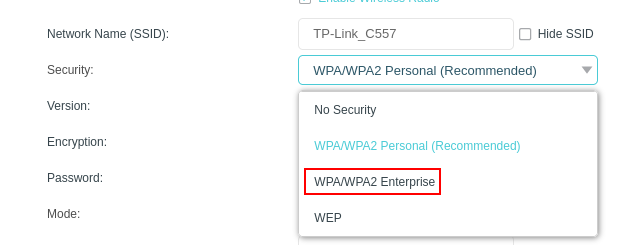
We access the Wireless Settings panel.
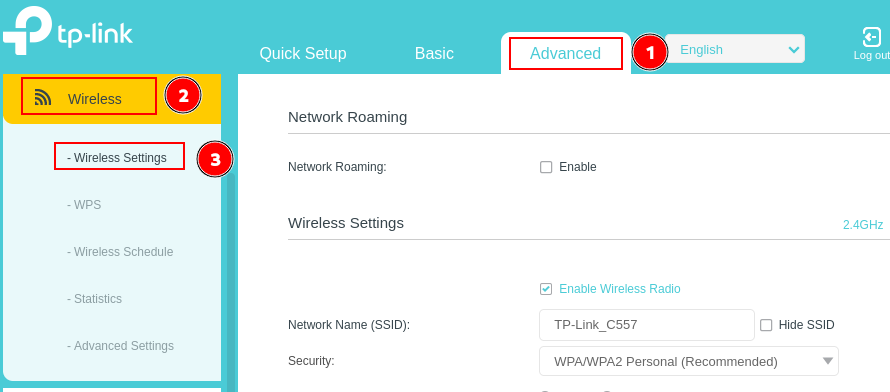
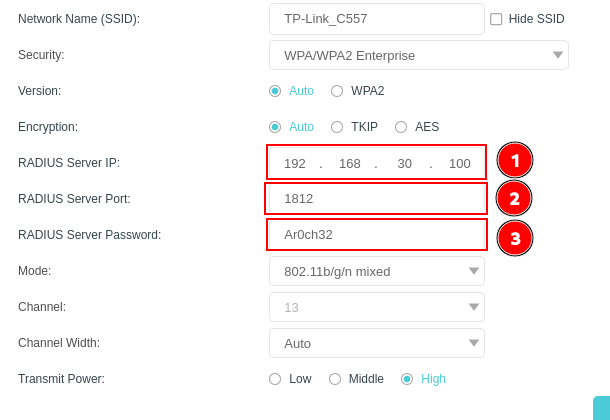
Under the wireless security settings section, we configure the authentication mode to WPA2 Enterprise.
We specify the IP address of our FreeRADIUS server along with the shared secret key (testing123) we defined earlier.
When attempting to connect to the network, the client host will be prompted to enter its network username and password credentials.

Once successfully authenticated against the RADIUS backend, the client device connects to the wireless network securely.
